Let your friends and family know you’ve arrived safely at your destination by checking in on Facebook. Or, anyone can share their current location in case anyone is looking for them. Additionally, checking in on Facebook can be a way to show support for a business or organization.
Also Read: How to Make Facebook Private?
Steps to Check-In on Facebook
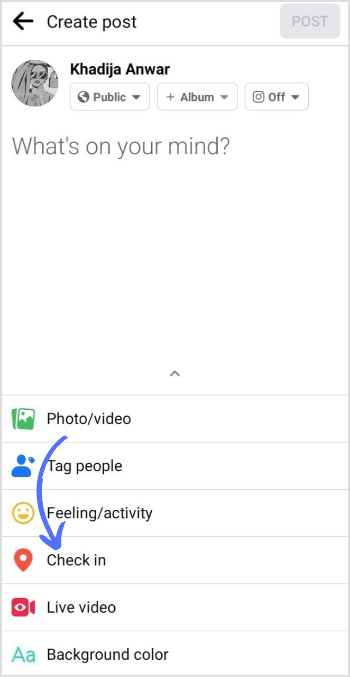
Step 1:
Open the Facebook app and tap “What’s on your mind.”

Step 2:
Tap on “Check in.”
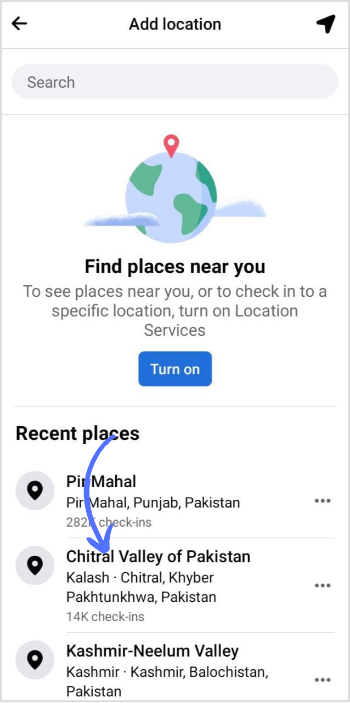
Step 3:
Either add a live location or search for a place.
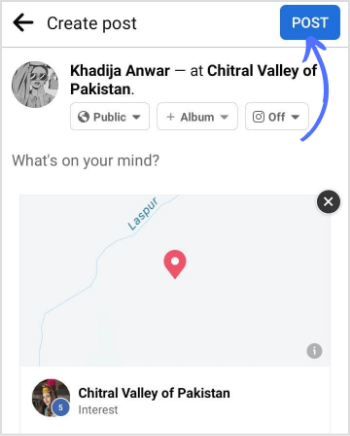
Step 4:
Tap on “Post.”
Note: Before changing your name, ensure Facebook doesn’t reject a new name. However, changing your name on Facebook is always a good way to keep your account updated.
FAQs
Why can’t I check in on my Facebook page?
Visit your “About” page and look for the Check-Ins map to review your check-ins. If it isn’t present there, it isn’t activated. Go to your profile page & choose More> Manage Sections> check the box next to it> click Save to activate the Check-Ins map on Facebook.
Why can’t I check in on Facebook anymore?
You might have disabled the function; this could be why you can’t check in on your Facebook.

Khadija Anwar
Meet Khadija Anwar, an accomplished tech writer with over 500 published write-ups to her name. Her impressive portfolio can be found on the ContentStudio blog, LinkedIn, and the Fiverr platform.