You’re juggling multiple social media accounts, crafting the perfect caption, selecting a catchy image, hitting all the right hashtags, and then, bam! It’s time to do it all over again.
No wonder social media management can sometimes feel like you’re in a hamster wheel that never stops.
But worry not. We’re here to share a secret weapon with you – content batching.
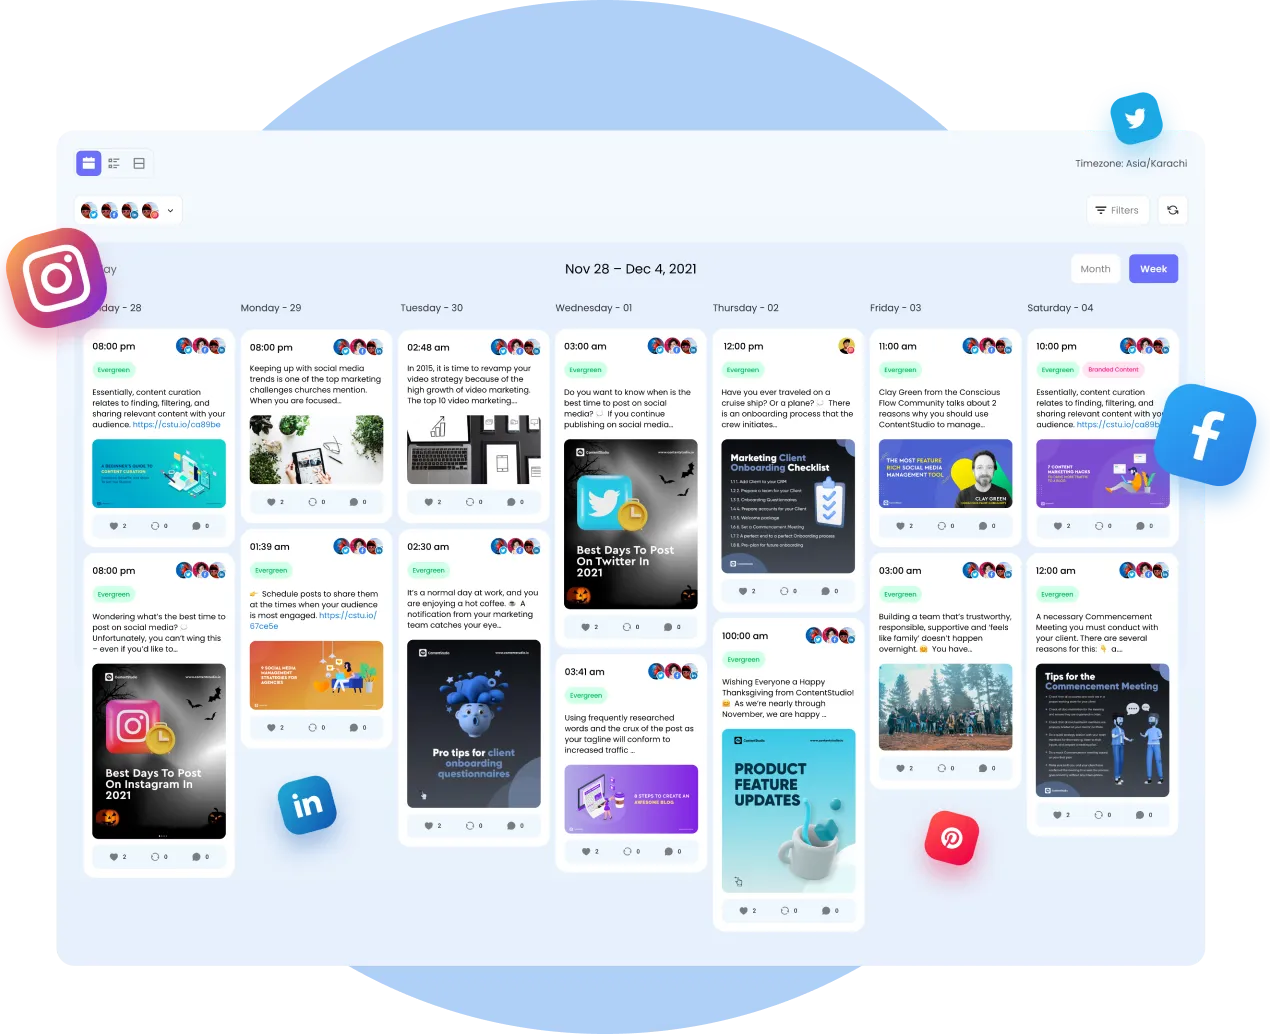
Social Media Content Calendar Stay consistent and organized with Contentstudio’s social media content calendar for marketers and agencies.
Content batching is a practical approach to social media management that can supercharge your productivity and keep your sanity intact.
The best part? It’s a totally adaptable technique, whether you’re running a global brand’s social media or a local bakery’s Facebook page.
In this blog post, I’ll discuss the nitty gritty of content batching for social media. So you can strategize like a pro and still have time left over for a coffee break (or maybe a well-deserved nap!). So let’s dive right in.
What is content batching?
Social media content batching creates and schedules content simultaneously rather than doing it daily or post-by-post.
You get into a focused “creation mode” where you write, design, and plan several posts in one dedicated session.
The main idea is to concentrate on similar tasks within a designated time frame to increase efficiency and productivity. By eliminating the constant switching between tasks (context switching), you reduce mental fatigue and make your workflow smoother.
Let’s say you craft posts daily. Each morning you decide on a product to feature, find a suitable image, write a caption, select appropriate hashtags, and then post. It’s a mix of tasks, and you repeat this process every day, interrupting whatever else you’re working on.
Now, let’s apply content batching.
On Monday, you decide on the posts for the entire week. You choose which products to feature daily, considering special promotions or events. This is your planning stage.
On Tuesday, you move into “creation mode.” You gather or create images for each product. This might involve arranging a photoshoot or designing custom graphics. Either way, you’re solely focused on visuals.
On Wednesday, you write all the captions. You’re in a writing mood now, letting your creativity flow in crafting captions for each product.
On Thursday, you select or research hashtags and schedule each post on your social media platforms using a social media scheduling tool like ContentStudio.
By Friday, you’ve got all your posts ready to go live for the next week!
The beauty of content batching is you can adjust it based on your specific needs and schedule. You might batch for two weeks, a month, or even a quarter.
What are the benefits of content batching?
Here are some awesome benefits of social media content batching.
1. Enhanced productivity
Batching allows you to streamline your tasks, saving you time and energy. For instance, if you’re creating graphics for your posts, designing all your visuals in one go is much more efficient. With your design tools open and your creative juices flowing, you can produce several images faster than if you spread the task over multiple days.
2. Consistency in posting
Consistency is key in social media; content batching ensures you stick to your posting schedule. Say you’re managing a health blog’s Instagram. You can batch your “#WellnessWednesday” posts for the entire month, ensuring you always have timely content to share.
3. Improved content quality
When you’re not in a rush, you can dedicate more time to perfecting your content. Consider a YouTuber sharing cooking tutorials. They can focus on filming multiple videos at once and then editing them to perfection, ensuring each one is engaging and well-produced.
4. Consistent branding
Content batching allows you to weave a consistent brand narrative across all platforms. Creating content in batches can align your messaging, visuals, and tone, resulting in a cohesive brand presence. For example, a fashion influencer can create a series of outfit lookbooks, aligning their visuals, messaging, and tone to maintain a strong and recognizable brand identity.
Also Read: 10 Social Media Branding Tips for Brands in 2023
5. Scheduling and automation
Content batching for social media also offers the power of scheduling and social media automation. Once your content is polished and ready to go, you can utilize scheduling tools and social media management platforms like ContentStudio to plan and schedule your posts in advance. This means you can have a consistent presence on social media without constantly needing to be in the content creation zone.
6. Stress reduction
Break free from the cycle of content creation stress. With social media content batching, you banish the frantic rush of last-minute deadlines and constant content creation pressure. Instead, you gain a sense of calm and control, knowing that your content is planned, organized, and ready to roll.
How to batch content for social media?
Let’s walk through an 8-step process for social media content batching.
Step 1: Set your goals
Start by defining your social media goals. Are you looking to boost engagement, increase followers, drive traffic to your website, or promote a new product? Your goals will guide your content strategy. For example, if your goal is to increase website traffic, your posts might focus more on blog content or product pages.
Step 2: Plan your content
Consider the themes, campaigns, or types of posts you want to share. A retail store might have themes around new product arrivals, style tips, and customer testimonials.
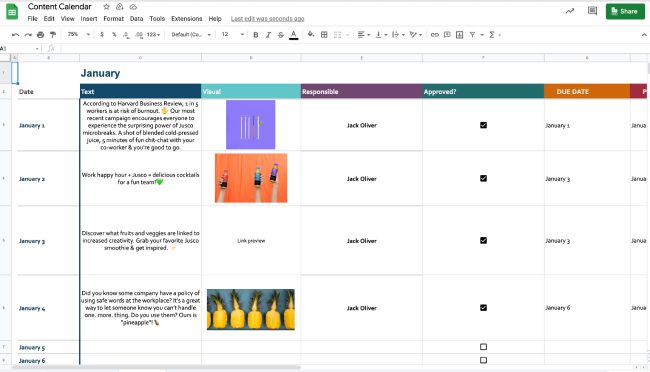
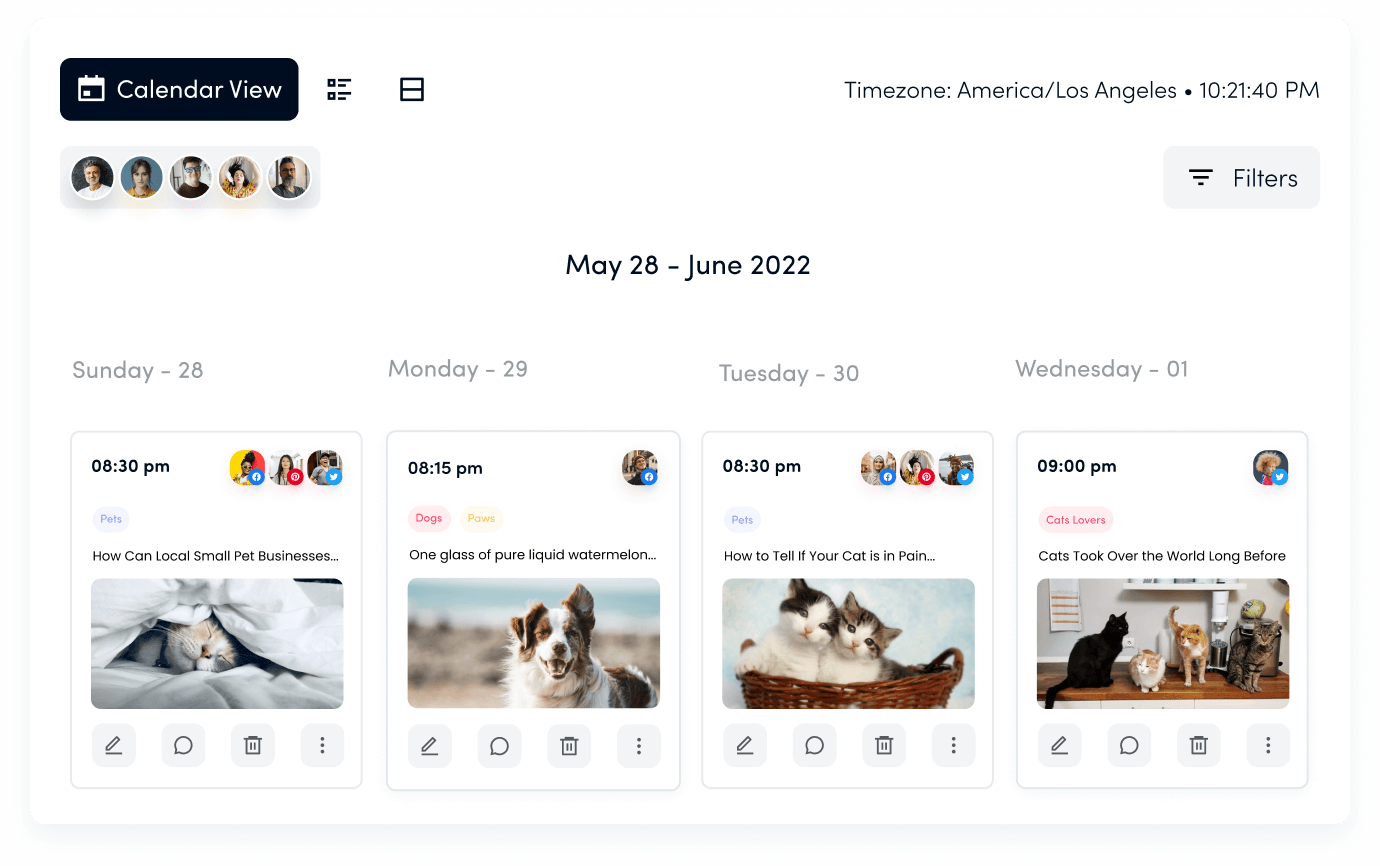
Plan these out on a calendar, considering key dates or events. Here is how you can do so with ContentStudio’s content calendar.
Step 3: Decide on a batching period
How far out do you want to plan your content? A week, two weeks, a month? The choice depends on your goals, resources, and the nature of your content. A news-focused account might batch weekly, while a lifestyle brand might batch monthly.
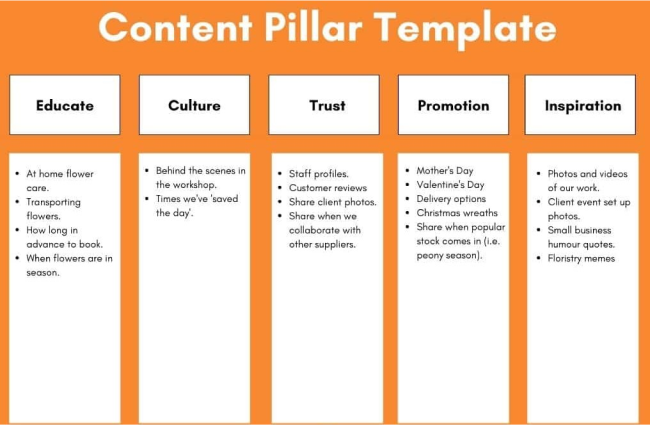
Step 4: Research and gather content ideas
Next, start gathering ideas and creating content pillars. Look at trends, audience interests (Also Read: Short Bio Examples That Will Impress Your Audience), competitors, and past successful posts. For example, a flower brand’s research process might include upcoming events. Scouting Pinterest, flower blogs, and related hashtags on Instagram for inspiration. And reaching out to customers who’ve tagged the brand, asking permission to feature their photos.
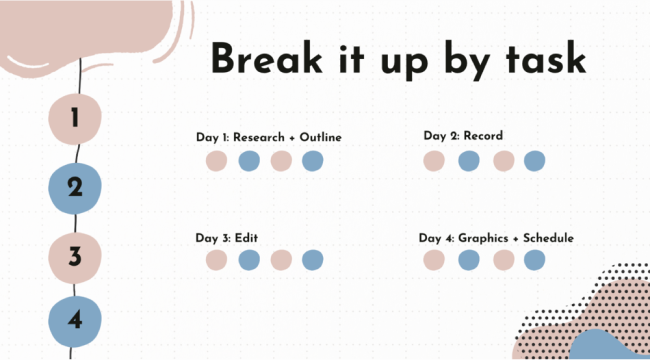
Step 5: Create your content
Now get into creation mode. Write your captions, create your graphics, take photos, etc. Block out a dedicated time to create content in batches. For example, dedicate a few hours to write multiple blog posts or create graphics for social media. This focused approach allows for better flow and efficiency.
Step 6: Optimize for each platform
Remember that each platform has different requirements and audience expectations. A long post might work on Facebook, but you’ll need a snappier version for Twitter. Adjust your content accordingly.
Step 7: Schedule your content
Use a social media scheduling tool to line up your posts for automatic publishing. A social media management tool like ContentStudio can make this a breeze.
Read Up: Top 20 Social Media Automation Tools You Must Have In 2023
Step 8: Review and adjust
Finally, review your content periodically. Are your posts hitting the mark? What’s the engagement like? Learn from the performance data and tweak your future batches accordingly.
That’s it! By following these steps, you’ll have a stockpile of engaging content ready to go out.
How to schedule your content in batches with ContentStudio?
Follow these steps to schedule social media content in batches using ContentStudio.
1. Sign in to your ContentStudio account: Visit the ContentStudio website and click “Sign In” in the top right corner.
2. Prepare your content: Before scheduling anything, you must have your content ready. Prepare your posts with text, images, videos, links, or combinations.
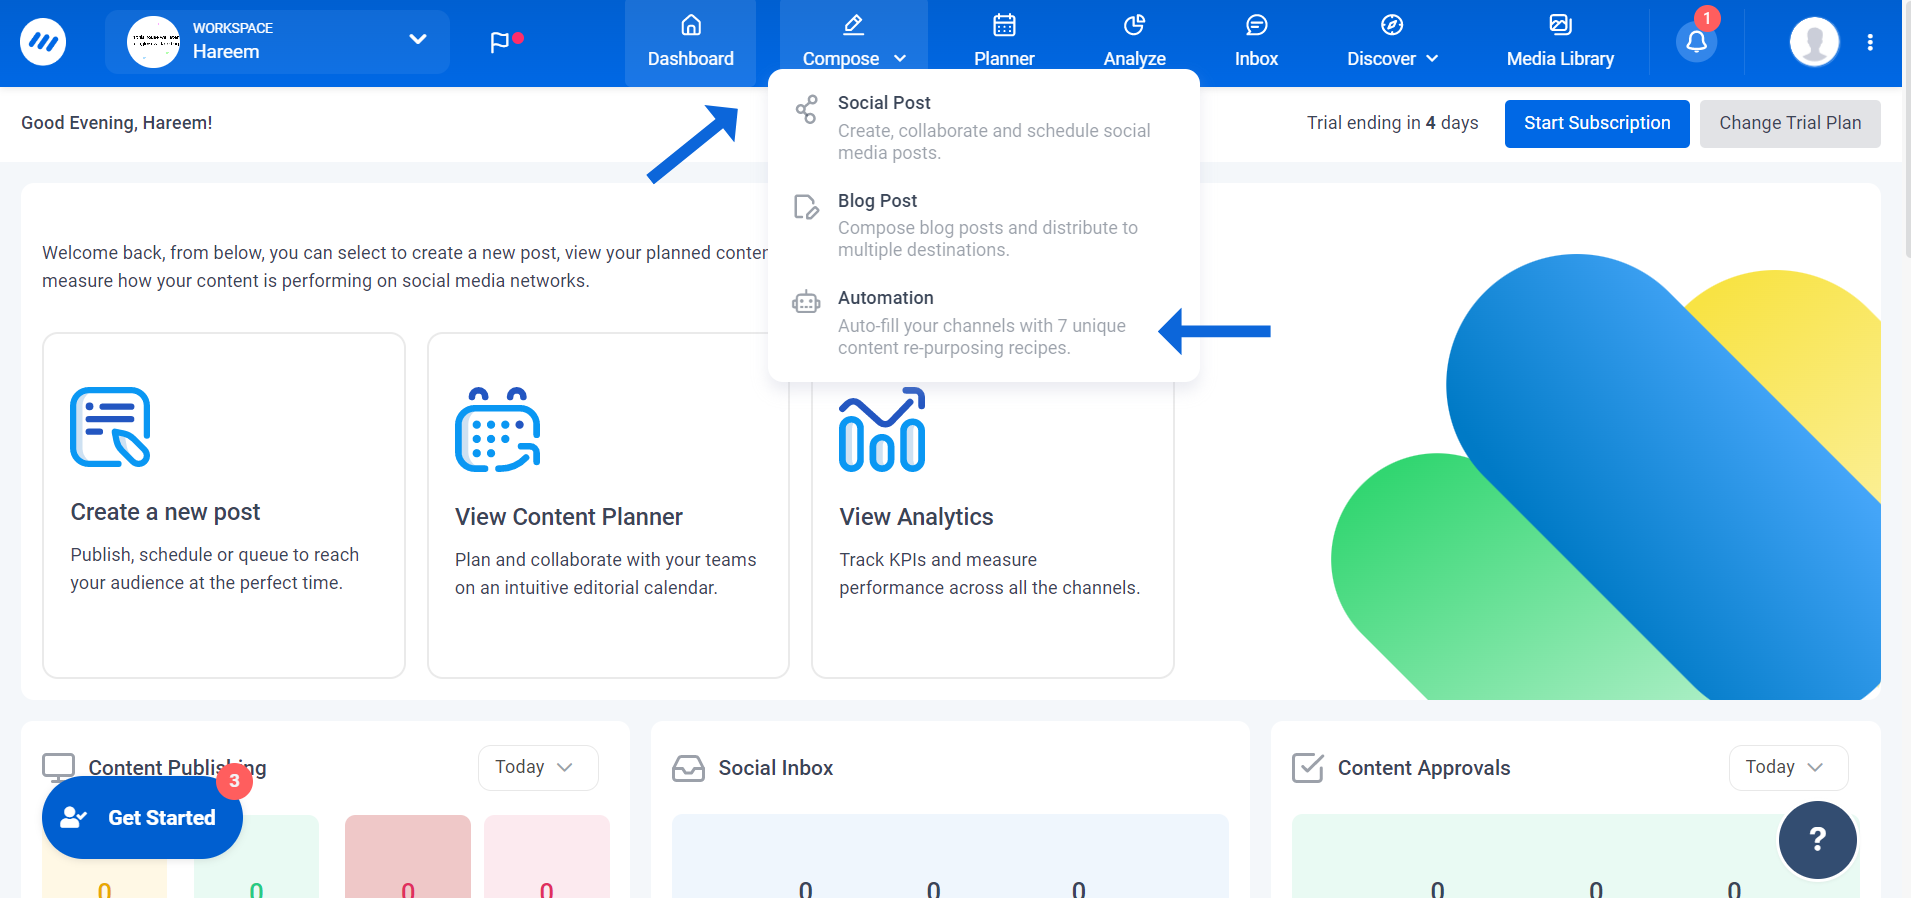
3. Navigate to Automation Module: On the main dashboard, click on Compose and then Automation.
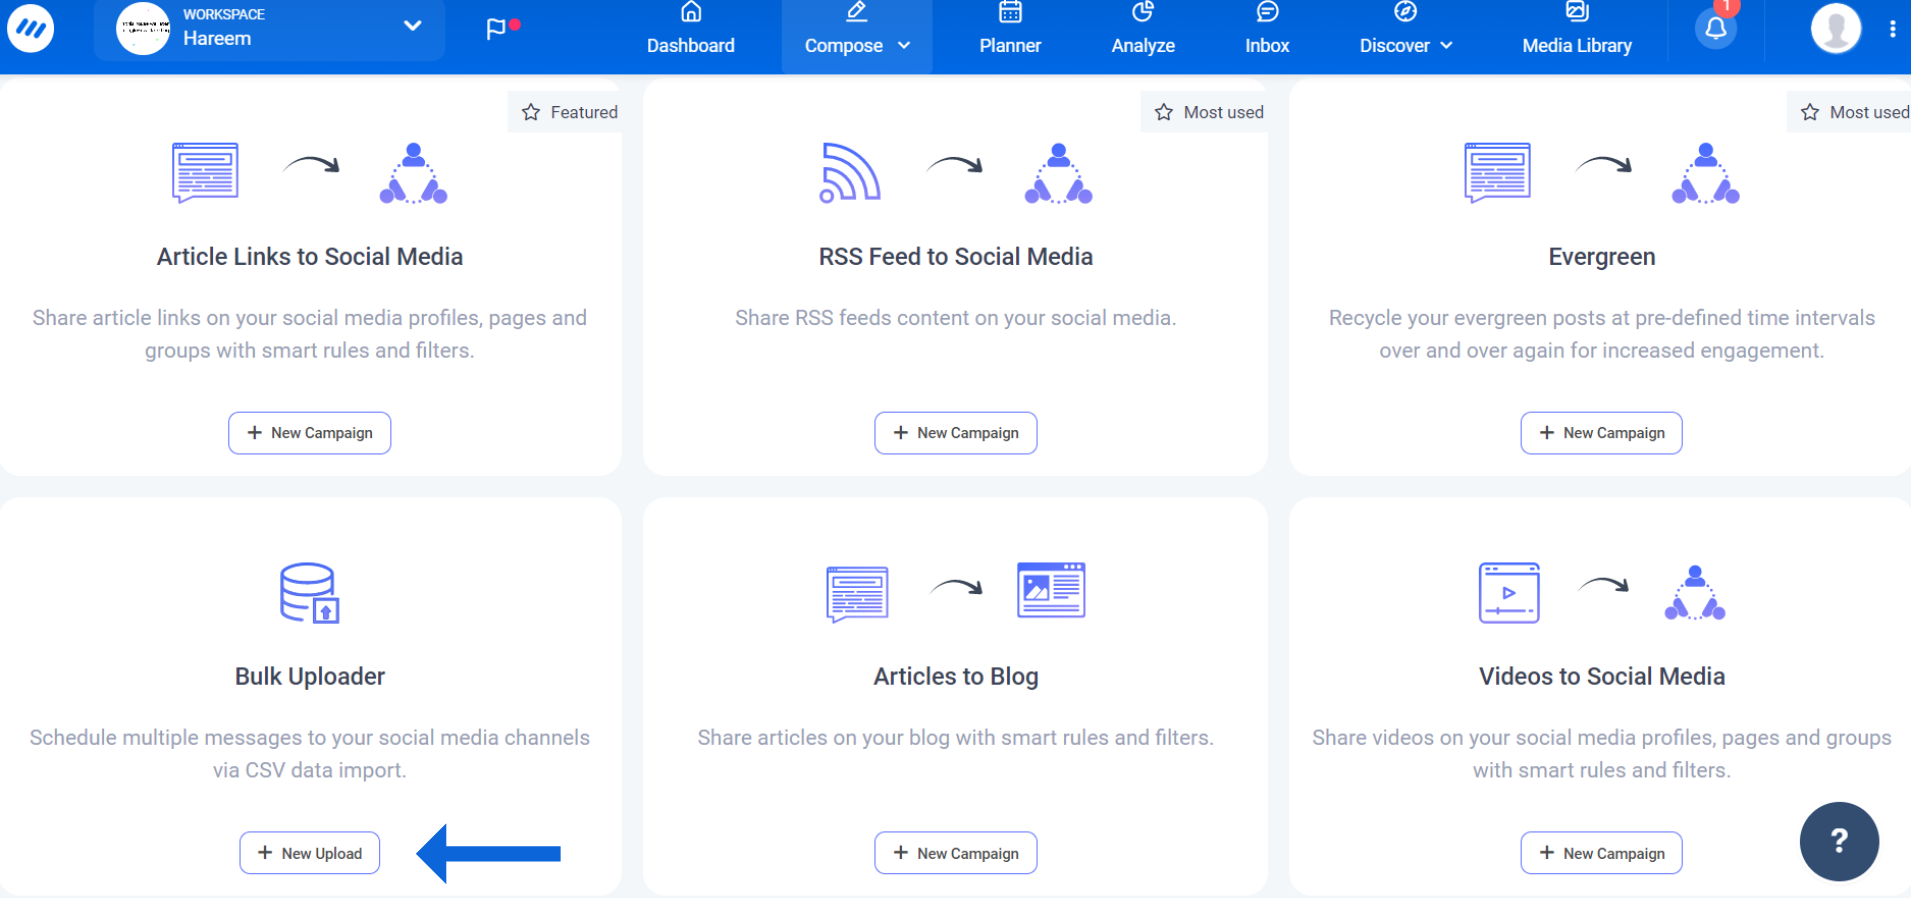
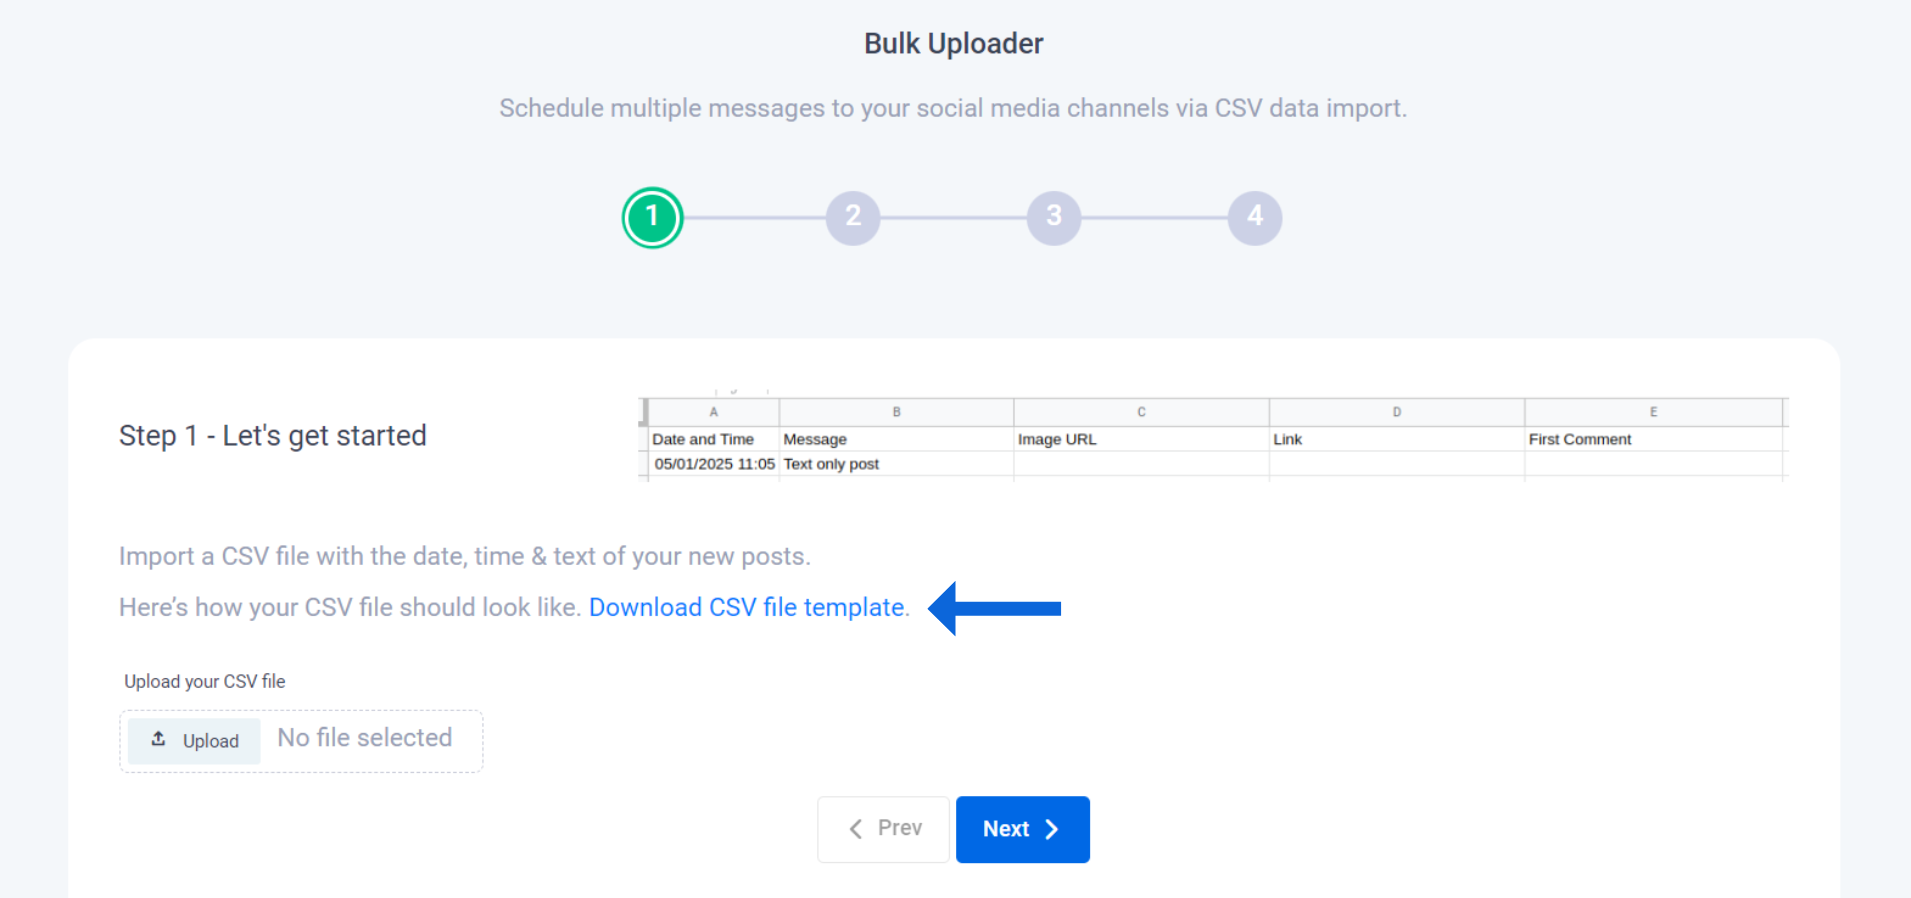
4. Select Bulk Uploader: From the automation recipes, select the bulk uploader option to batch schedule your content via CSV data import.
5. Download CSV file template: Download the provided CSV file template, which serves as a structured format for organizing the date, time, and text of your posts.
6. Open the CSV file template: Open it using spreadsheet software like Microsoft Excel or Google Sheets after downloading it. This will allow you to view and edit the contents of the file.
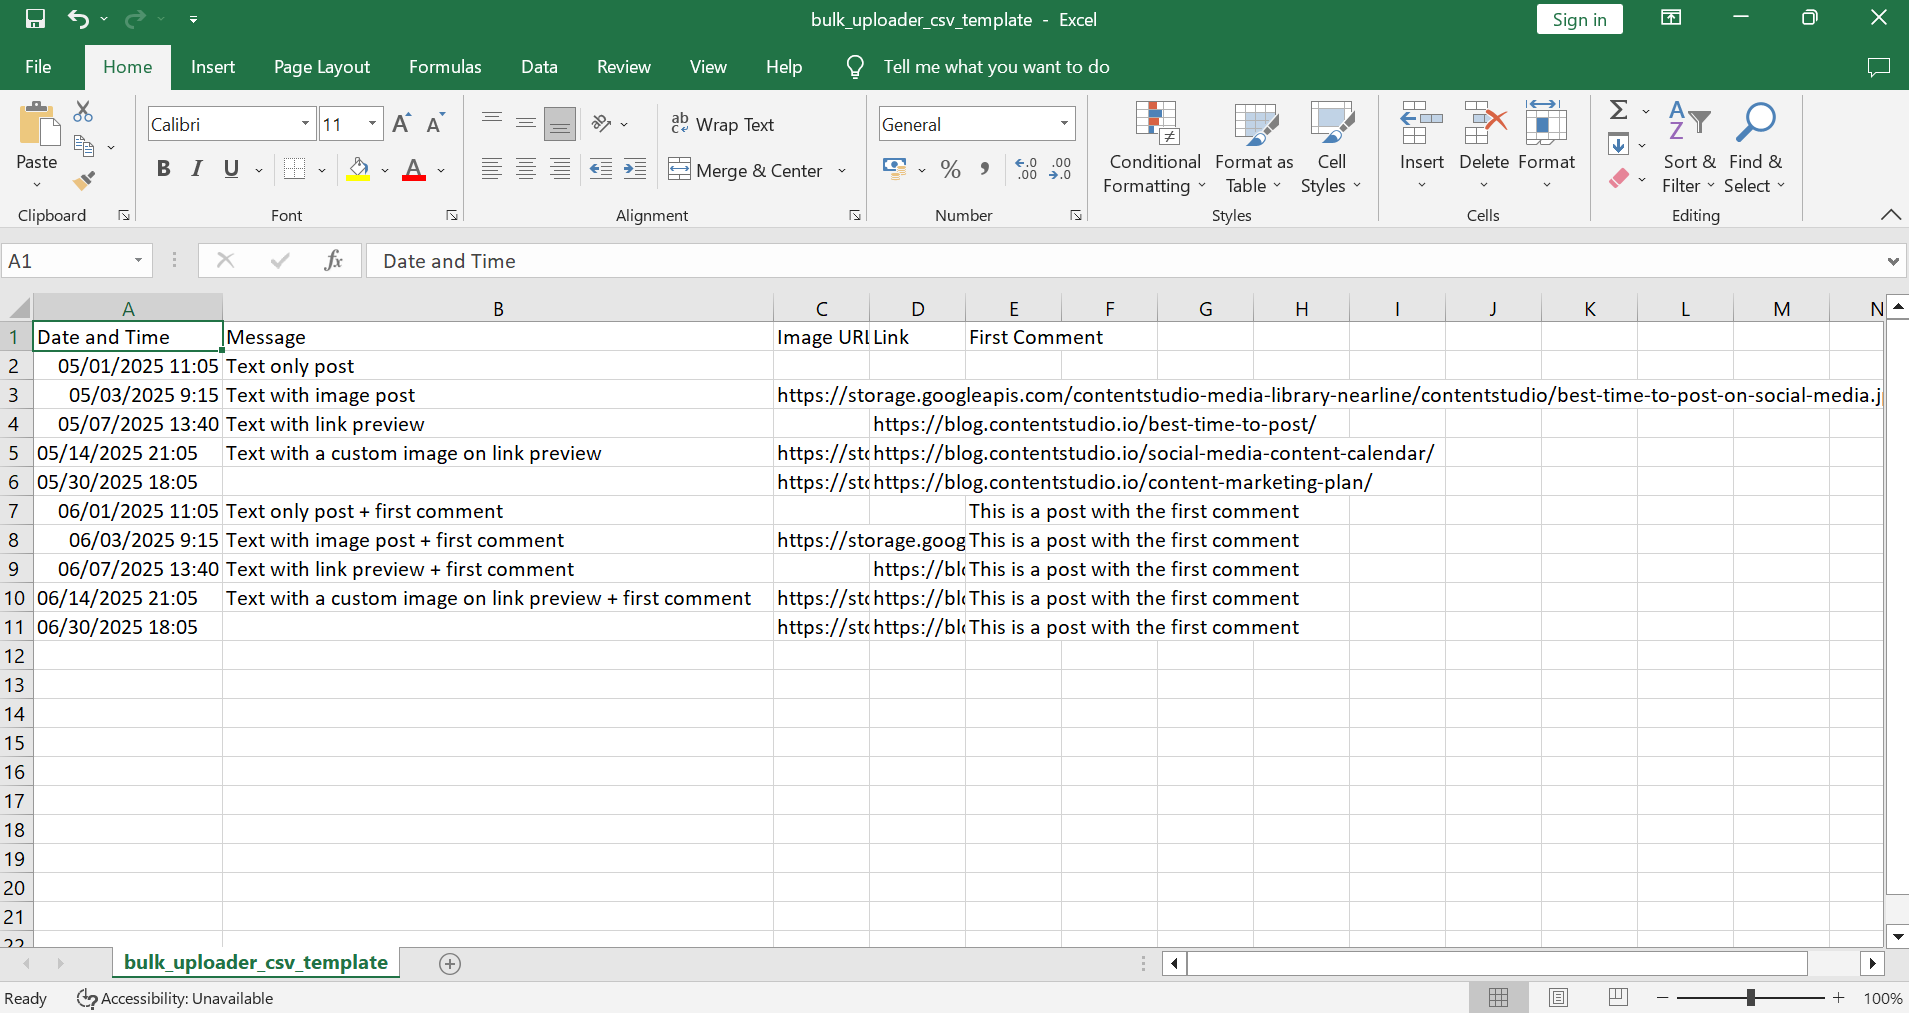
Let’s discuss each column of the file.
- Date and time: This is the date and time at which you want to schedule a specific post.
The date format can be either mm/dd/yyyy or dd/mm/yyyy.
The time format can be either a 12-hour clock format with “am” or “pm” indicators or a 24-hour clock format.
- Message: This column will contain the text of your post. Four types of messages are allowed for a post in ContentStudio.
- Text only post
- Text with image post
- Text with link Preview
- Text with a custom image on link preview
- Image URL: Use this field to specify the URL of images in your posts. If you have selected the 2nd and/or 4th option in the message field, add the URL of the image you want to show in your post.
- Link: Enter the link for your post if you have selected the 3rd or 4th option in your message type.
- First comment: This field will contain the first comment you want to add to your post.
7. Fill in the data: Enter the relevant information for each post in the corresponding columns.
Here’s how the filled sheet will look like with 3 posts:
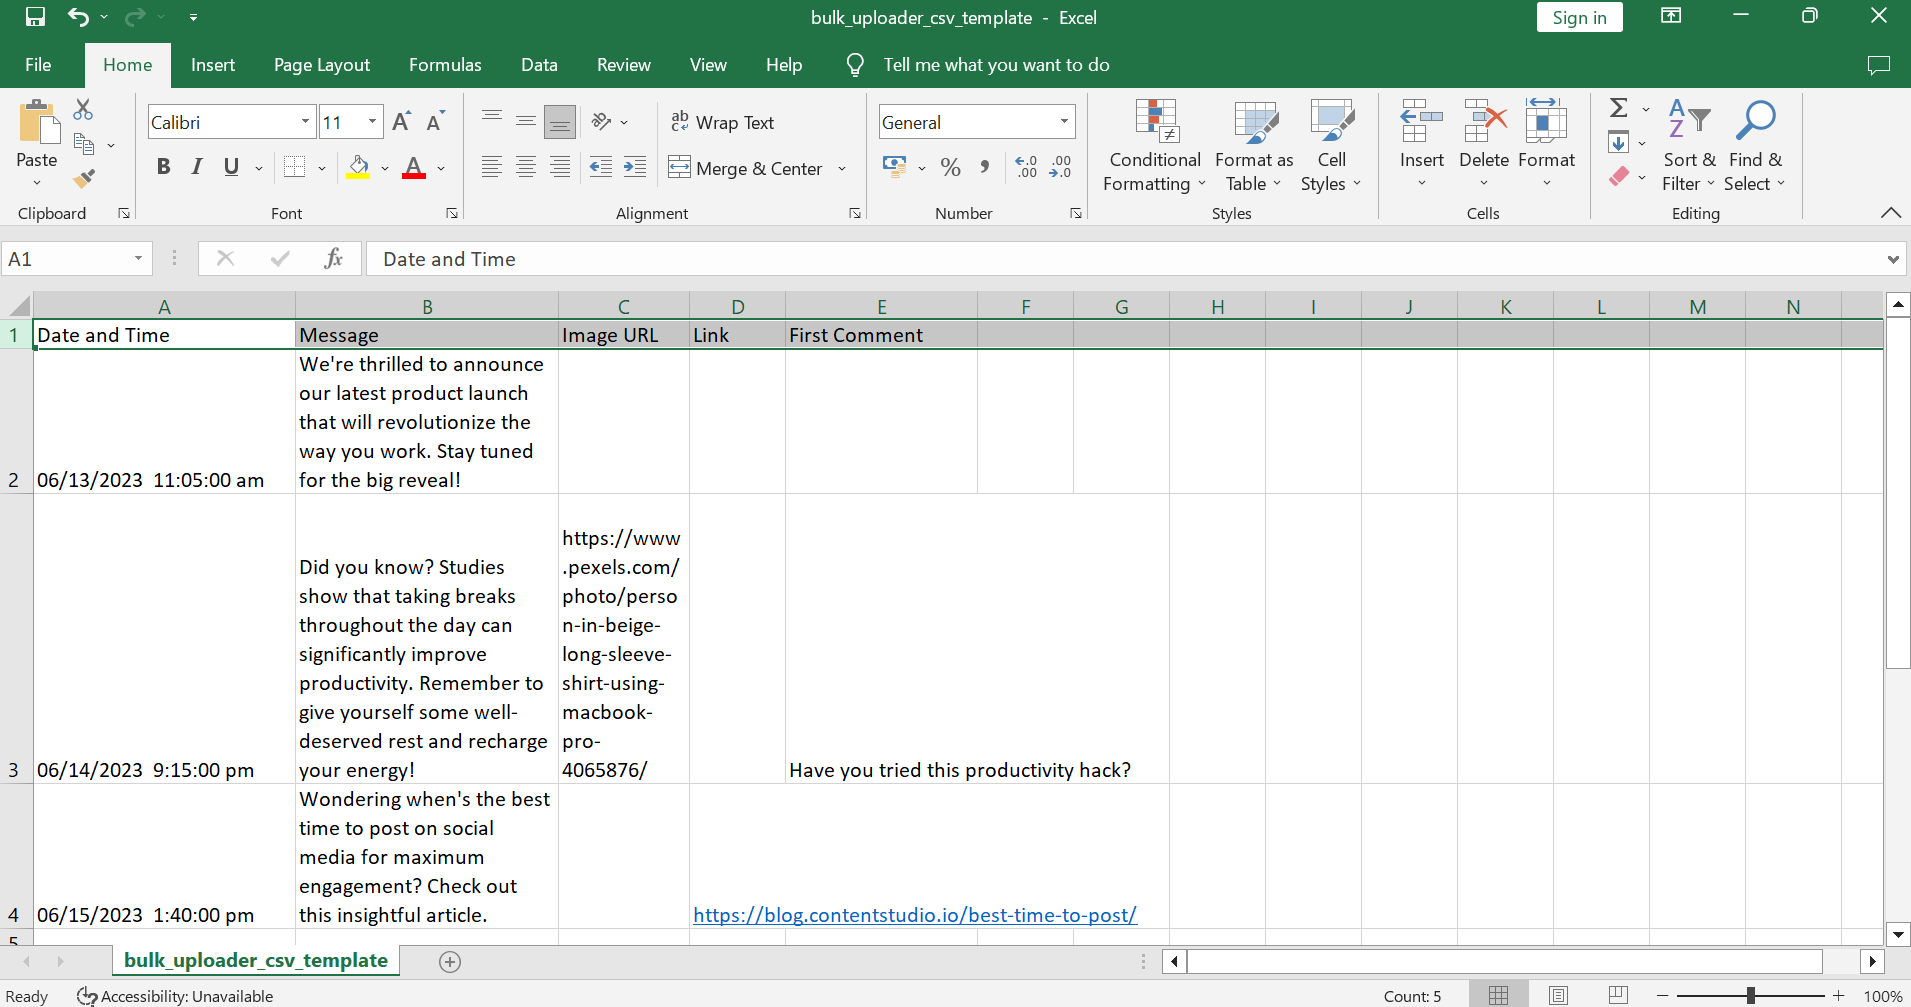
8. Save the CSV file: After you have filled in the data for all your posts, save the CSV file.
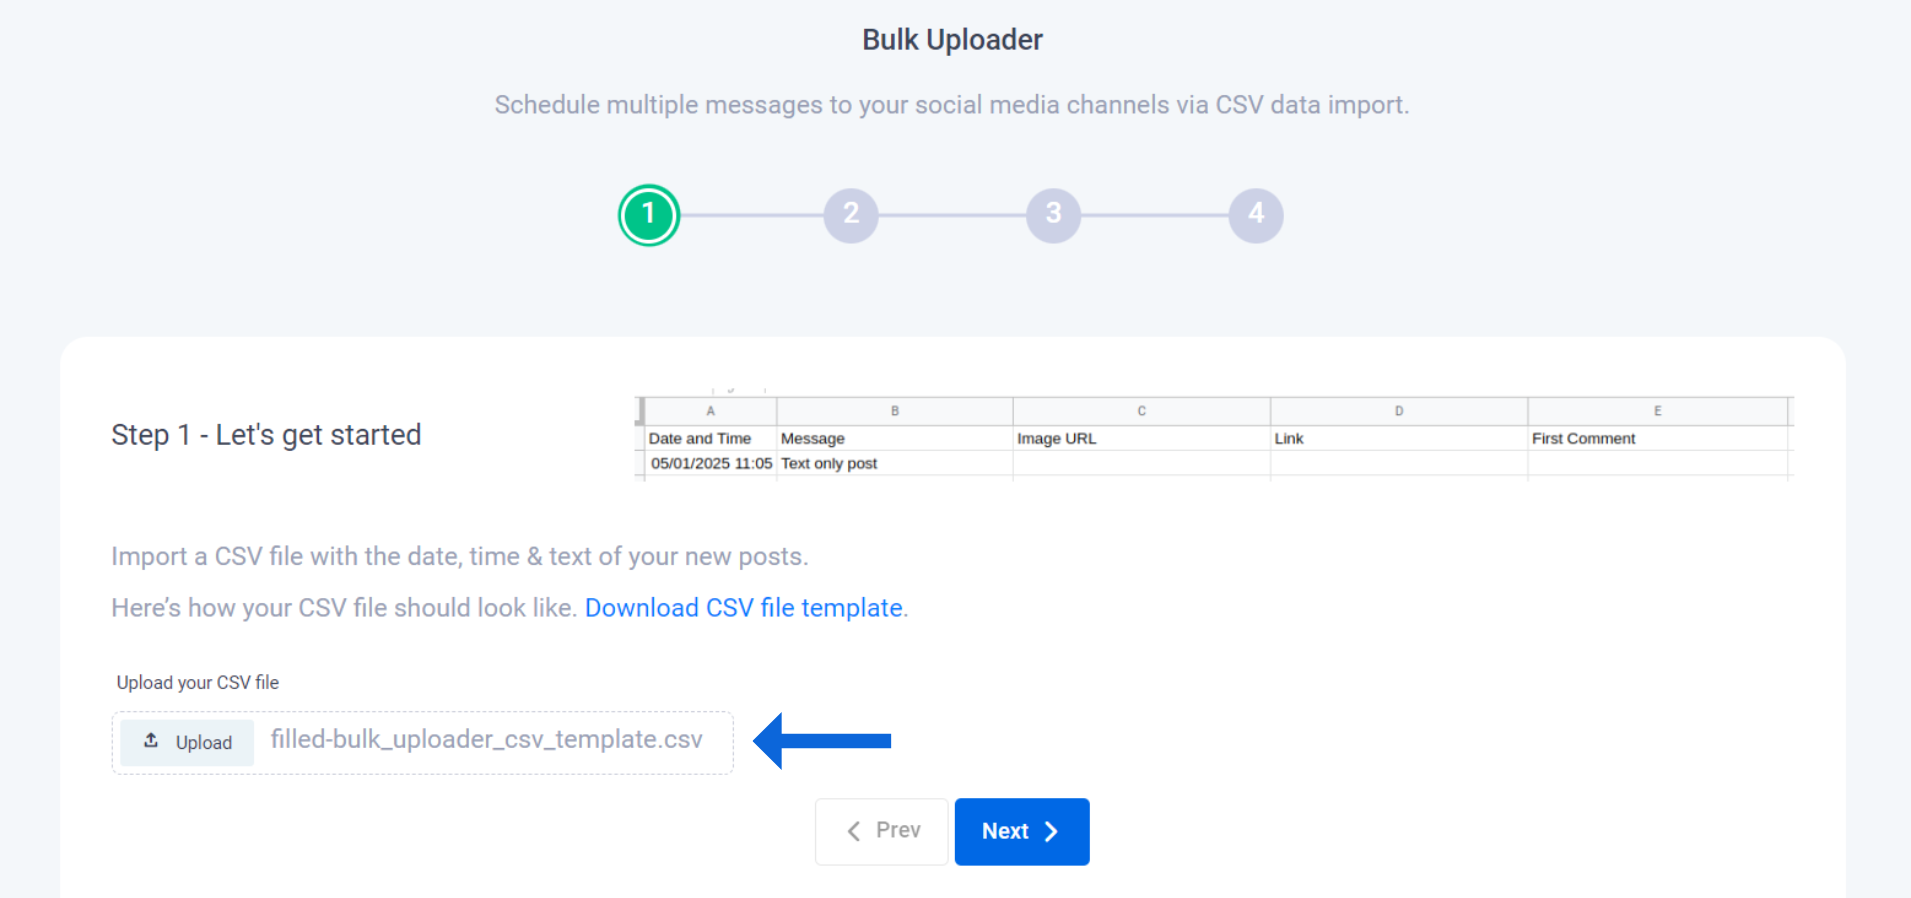
9. Upload the CSV file: Upload your filled CSV file on the Bulk Uploader and click Next.
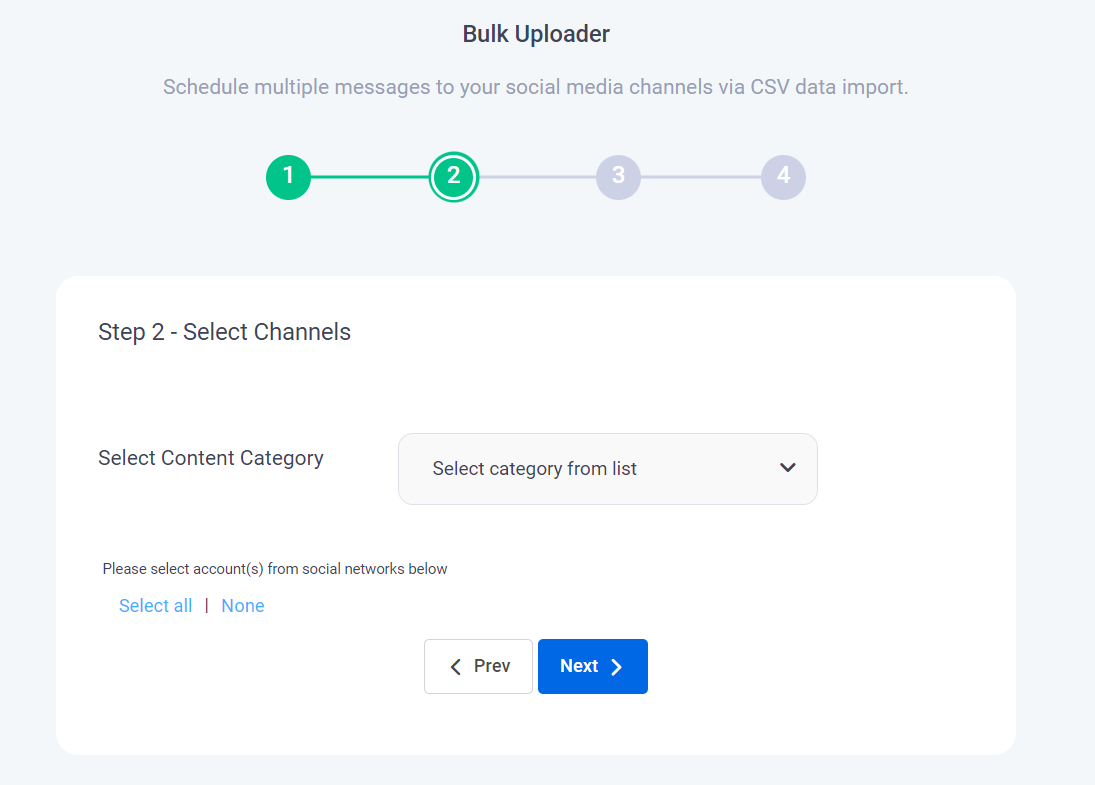
10. Select Channels: Select the social network for which you want to batch-upload content and create your posts in the CSV file. Click Next.
11. Select a scheduling option: Select your preferred scheduling option. There are 4 options available.
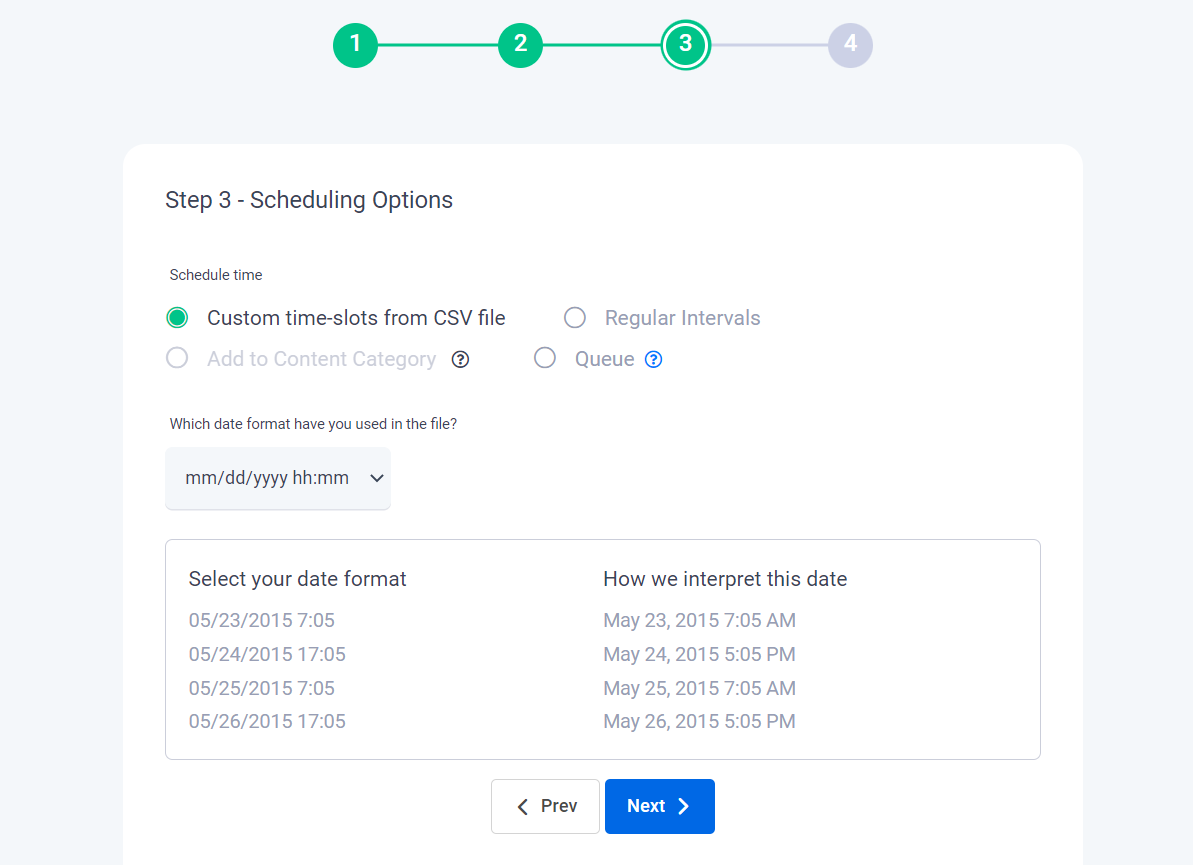
Let’s discuss each option in detail.
- Custom time slots from CSV file: If you choose this option, your posts will be uploaded according to the time specified in the CSV file.
- Regular Intervals: If you want to publish your posts after regular intervals, for example, every hour, you can select this option. Select the frequency of posting.
- Add to Content Category: Select from any existing content categories.
- Queue: When this option is selected, the system ignores the time set in the CSV file and follows the time specified in the queues. You can learn more about managing your social Queues in this article.
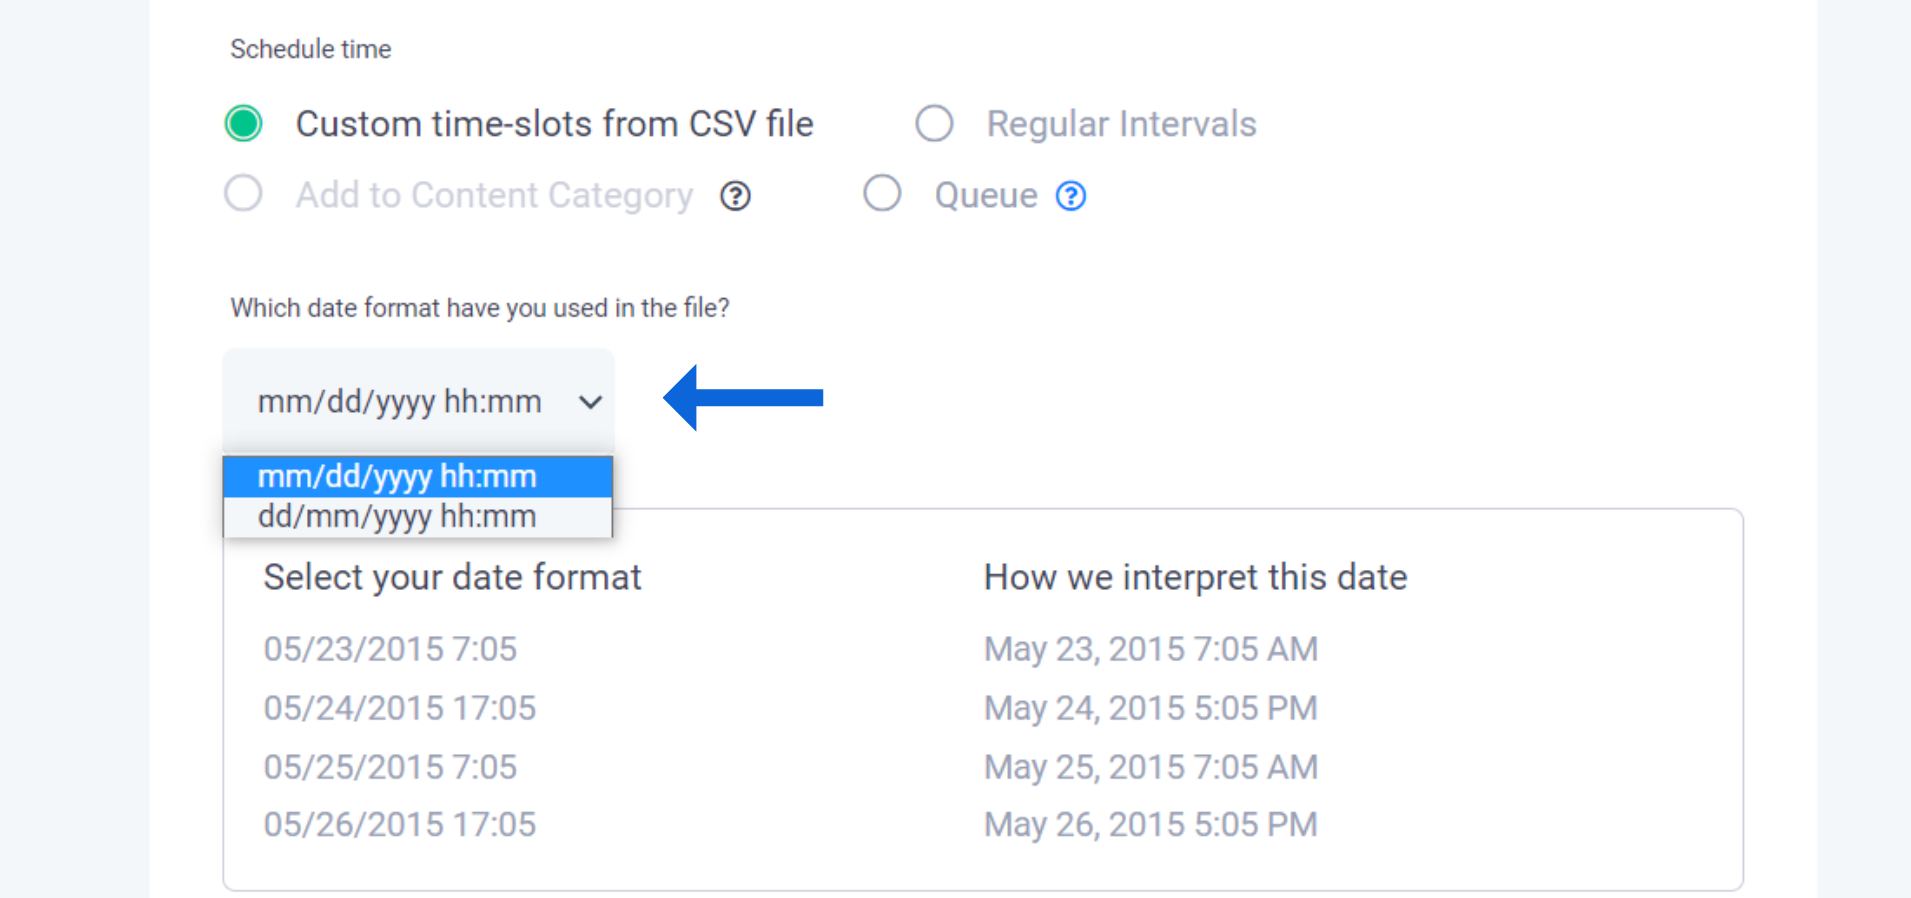
12. Specify the date format: Select the format you used in your CSV file. I will select the mm/dd/yyyy because that’s what I used in my file. Click Next.
13. Approve the posts: Final check your posts once and click on the tick mark to approve and schedule each post.
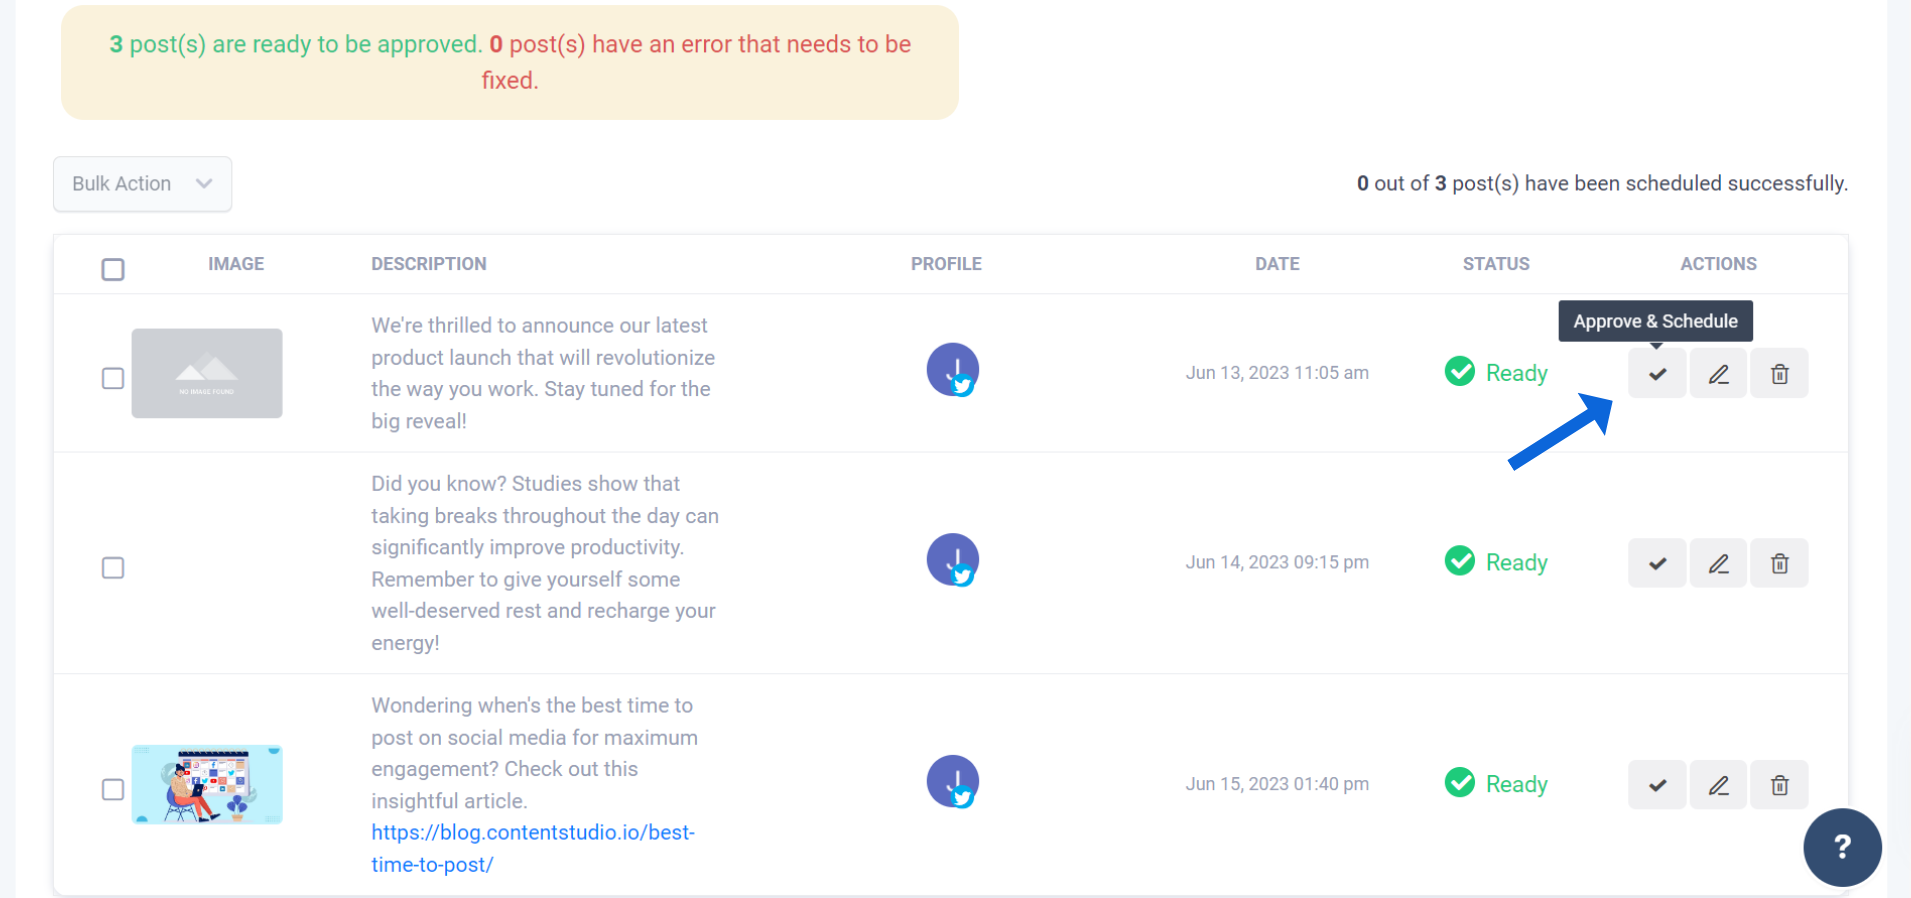
Ta-da, it’s done: Your posts will get scheduled, and you can sit back, relax and see the likes and comments rolling in.
Wrapping up
And there you have it, folks – your guide to batching content for social media! It’s time to bid farewell to daily content stress and hello to an organized and productive approach.
Remember, content batching isn’t about churning out posts; it’s about thoughtful planning, focused creation, and strategic scheduling.
With a tool like ContentStudio, it becomes even easier. Don’t just take my word for it – give it a spin! Sign up for a free trial today, and see how it can streamline your social media management.
So embrace the batch and free up some well-deserved time on your content calendar.
FAQ’s
How do I create batch content?
Creating batch content involves planning, setting aside dedicated time, focusing on one type of content at a time, eliminating distractions, creating multiple pieces, editing and refining the content, organizing and storing it, and scheduling or automating its distribution.
How do I batch content for my blog?
To batch content for your blog, start by planning your blog content with a calendar. Gather resources and outline your blog posts. Then, set aside dedicated time to write multiple posts in one sitting. Edit and proofread them, optimize for SEO, create visuals, format the posts, and schedule their publication using your blogging platform.
What is batching in marketing?
Batching in marketing refers to grouping similar tasks and completing them in a concentrated period. It involves allocating dedicated time to focus on specific marketing activities, such as creating content, designing graphics, writing campaigns, or analyzing data. Batching helps improve productivity, maintain consistency, and streamline the marketing workflow by reducing context switching and increasing efficiency.

Hareem
Hareem is a freelance writer for B2B and B2C SaaS platforms. She has a knack for turning technical jargon into engaging stories and has helped many companies convey their brand message with clarity and impact.